

April's Island Batik Ambassador challenge was to make a stuffed toy using a Funky Friends Factory pattern. I thought it would be fun to make a special gift for my oldest daughter, so I picked Sue the Squirrel to make for her. I could choose any fabric from the Ambassador box, and the pattern was also provided, so...the challenge was on!

I had a hard time deciding on a color choice, but then my eyes fell on the pile of leftover fabric from last month's challenge - so black and white was decided on (pebbles charcoal and coconut from the foundations). I printed up the pattern pieces and got them cut out, then set down with a nice cup of tea and started going through the instructions. I love the check boxes for each step, it really helps me stay organized and make sure I don't accidentally skip a step. Since I was using both black and white fabrics, I used both black and white Aurifil 50 wt thread, changing out to match the fabric for each step. I also used a nice sharp Microtex size 12 needle from Schmetz. It's always a good idea to start a new project with a fresh needle.I took a chance this time, and worked from my iPad so I had to be careful! Some of the pieces for Sue are pretty small, so this isn't a pattern for a beginner for sure! Those little feet were a trick to get stuffed. I like the way it all sewed together, I did have a little trouble with getting the arms on right, but in the end I got it done!

I've done a few with embroidered eyes, but I thought the safety eyes would look cute on the squirrel. I was about halfway done with the stuffing here. A wooden skewer is a great help in pushing the stuffing where you want it to go. I always say you need more stuffing than you think, then when you think you are done, add some more!
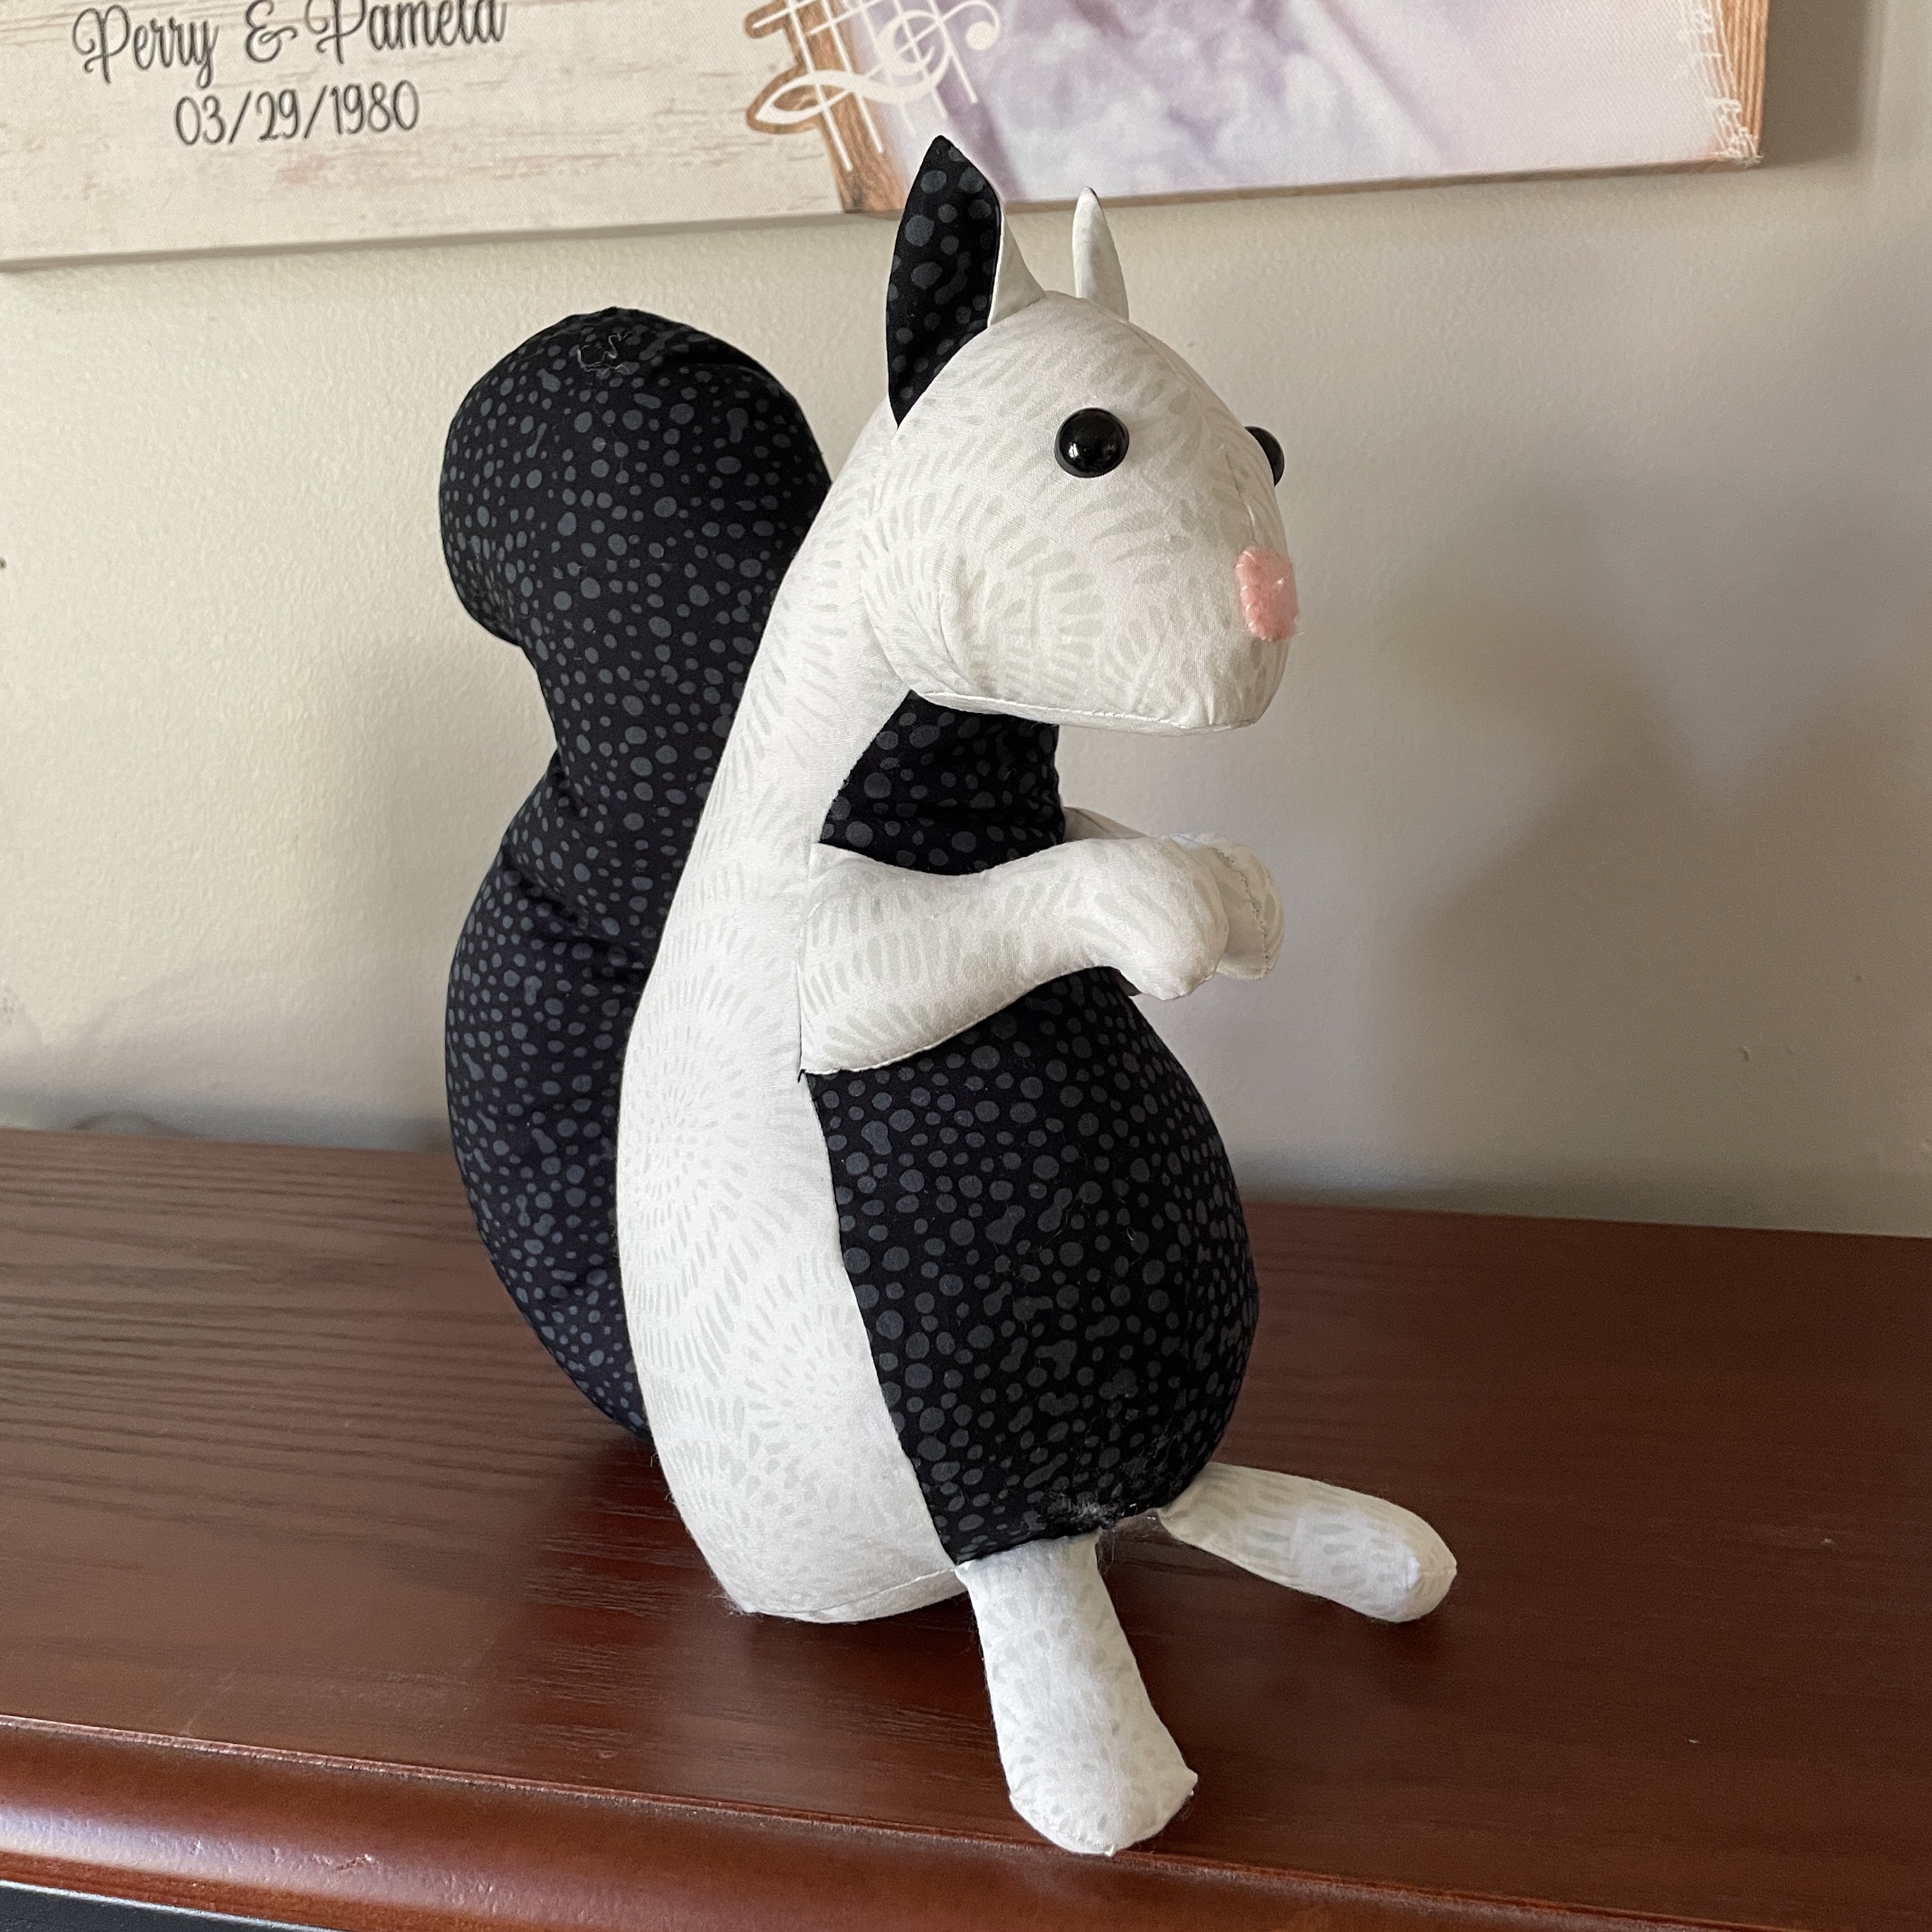
Now all she needed was her nose!

So cute! She looks like she wants to give a hug!

Scamper had to check her out, but he didn't really want a hug!

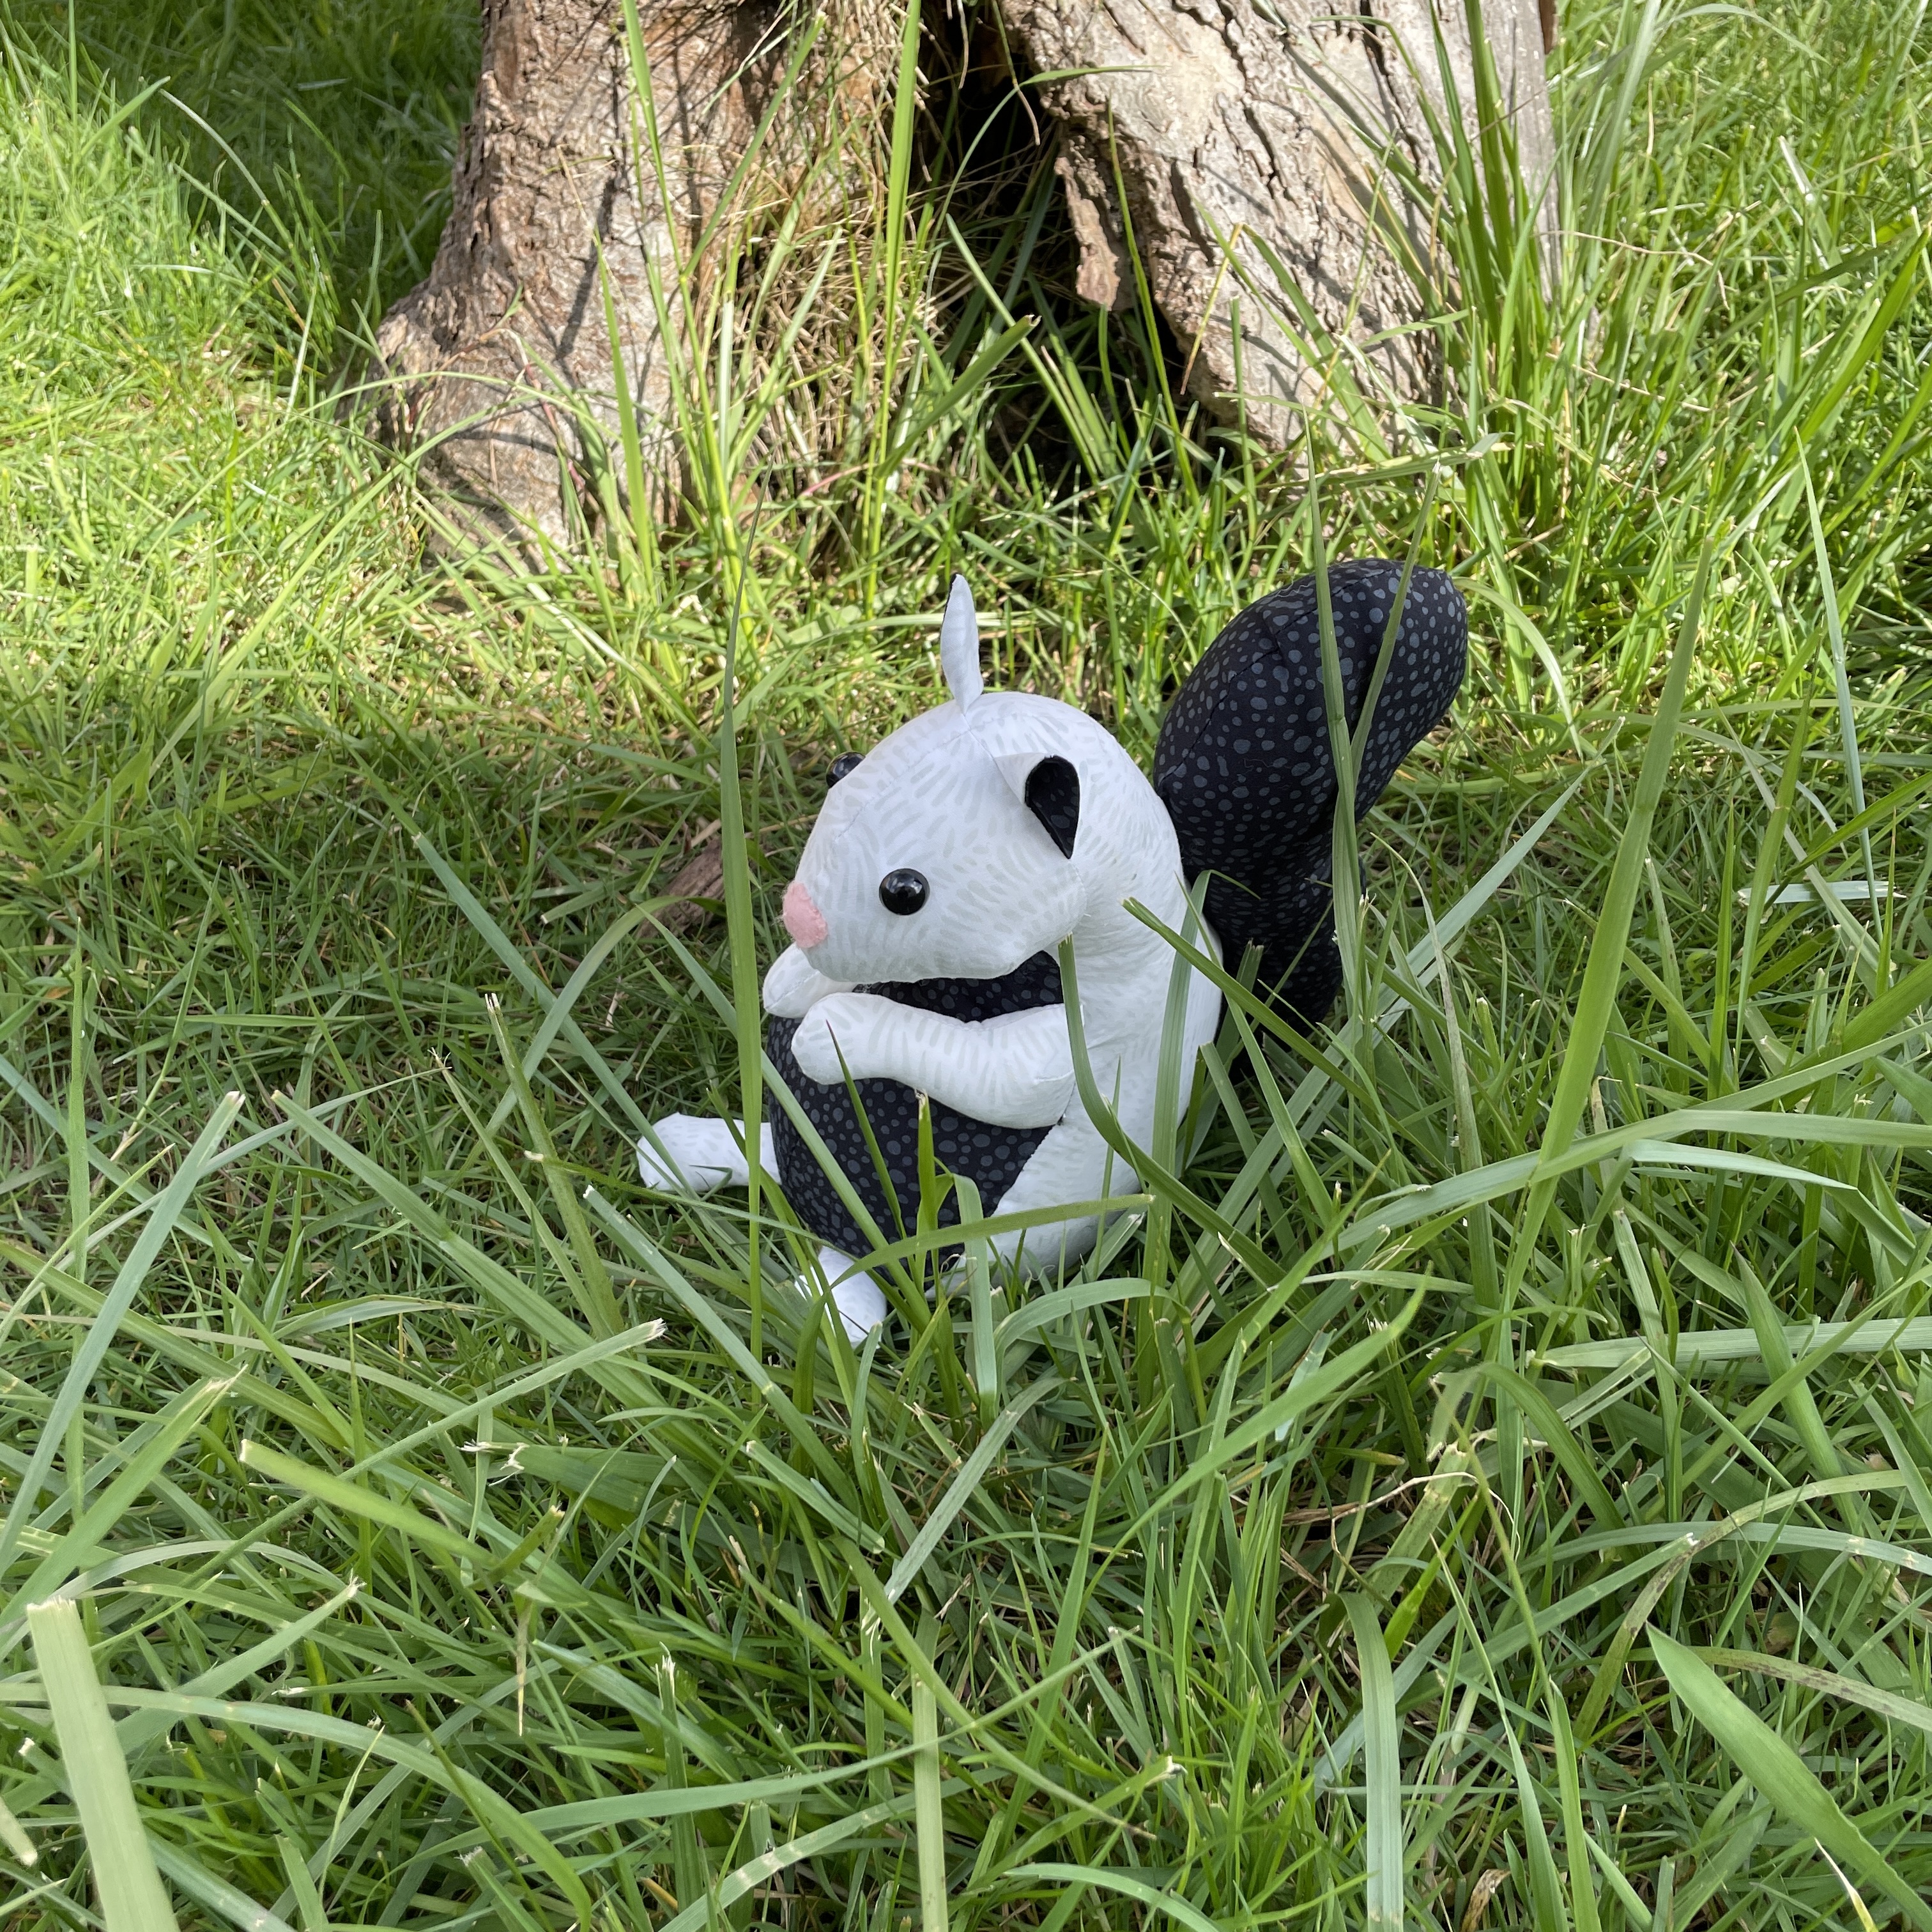
Before I packed her up for her trip, Sue thought she should go out and see the world a little bit. She loved the tall grass!

But there were no nuts to be found, so she wanted to climb the tree next.

She enjoyed the view from the branch here, but was getting cold, so we decided to head indoors again.

I introduced her to Fifi Fox, who watches over my sewing room. Fifi is another Funky Friends Factory pattern, and I've made her three times! Fifi and Sue hit it off quite nicely! Sue was tired after all of that activity so I tucked her into a cozy box with some bubble wrap and she will be heading off on her journey today - she will carry all my love and birthday wishes to Naomi, my first born. I sure hope she has a safe journey and know that she will enjoy her new home in Massachusetts. Lots of squirrels there to keep her company!
Sue the Squirrel was a fun make, and so cute! Thanks to Pauline at Funky Friends Factory for the opportunity to make another fun stuffed toy, and for the great folks at Island Batik, Aurifil Thread, and Schmetz needles for providing the materials for the project. Make sure you watch out to see what the rest of the Ambassadors make for their challenge, so many cute patterns to choose from, and fun fabrics!

 What a month it has been! I wasn't sure if I was actually going to get my challenge done as it has been a most challenging month for me - nothing bad, but just extremely busy and challenging, if you know what I mean. We've been doing more work on our house, but I'll leave that tale for another day - today I want to tell you about the fun quilt I designed and finished as my


