Friday, June 29, 2018

Mountain Dawning - Island Batik Ambassador Challenge for June - Modern Quilt

This month's challenge for the Island Batik Ambassador group was to make a Modern Quilt.  This year I was really excited about working on this theme - and had an idea right off the bat!


 From the minute I saw the Alpine Ice strip pack in my box I knew I wanted to try to make a quilt inspired by the Delectable Mountains pattern.

I had an idea for creating the block using strips, and went to work figuring it out.  This strip pack was perfect because it had 20 lights and 20 darks!

The blocks went together really well, then came the challenge of deciding my layout.  I decided to focus on alternate gridwork to make my quilt more modern, but was not very satisfied with my initial attempt.

  After consulting with my fellow Ambassadors I turned the blocks sideways and was much happier with the look. That and a little more rearranging of the blocks and I was finally happy with my layout.


 Then came the quilting!  I was struggling a bit there as well, but as usual the Ambassadors were so helpful and encouraged me to keep adding more quilting.
They were definitely right!  And the Hobb's Heirloom batting provided in my Ambassador box was wonderful to work with.  I really love the way the slight loft it has added a wonderful texture to my quilt.  Truthfully, it's been a while since I've used Hobb's batting and I had forgotten what a wonderful product it is!  I chose to use the medium blue Aurifil 40 wt thread that I also received in my Ambassador box.  I use a lot of their 50 wt threads for quilting, but I am definitely being drawn to the 40 wt thread lately - I just like the way it makes the stitches a little more defined.

For the back, I made one half dark and one half light - love the way the quilting shows up so nicely!

And here is my finished quilt!  Definitely a nice modern look to this.  It ended up at 48 x 48.


I learned a lot from the process of designing and making this quilt.  I'm really glad I reached out for advice when I felt stuck!  At times I felt discouraged because this quilt wasn't quite what I pictured in my mind, but in the end I am totally thrilled with it and am glad I didn't give up.   Sometimes you just need another opinion, or some good advice to get to the finish line!

I was so happy with the end result that I decided to write this up as a pattern: Mountain Dawning  It is available in my Etsy shop.  I've also included some other layout variations - the alternate possibilities are really amazing as well!

Check the list of 2018 Island Batik Ambassadors to see more projects!

Monday, June 25, 2018

Christmas All Year Block 6 and Monday Motivation!

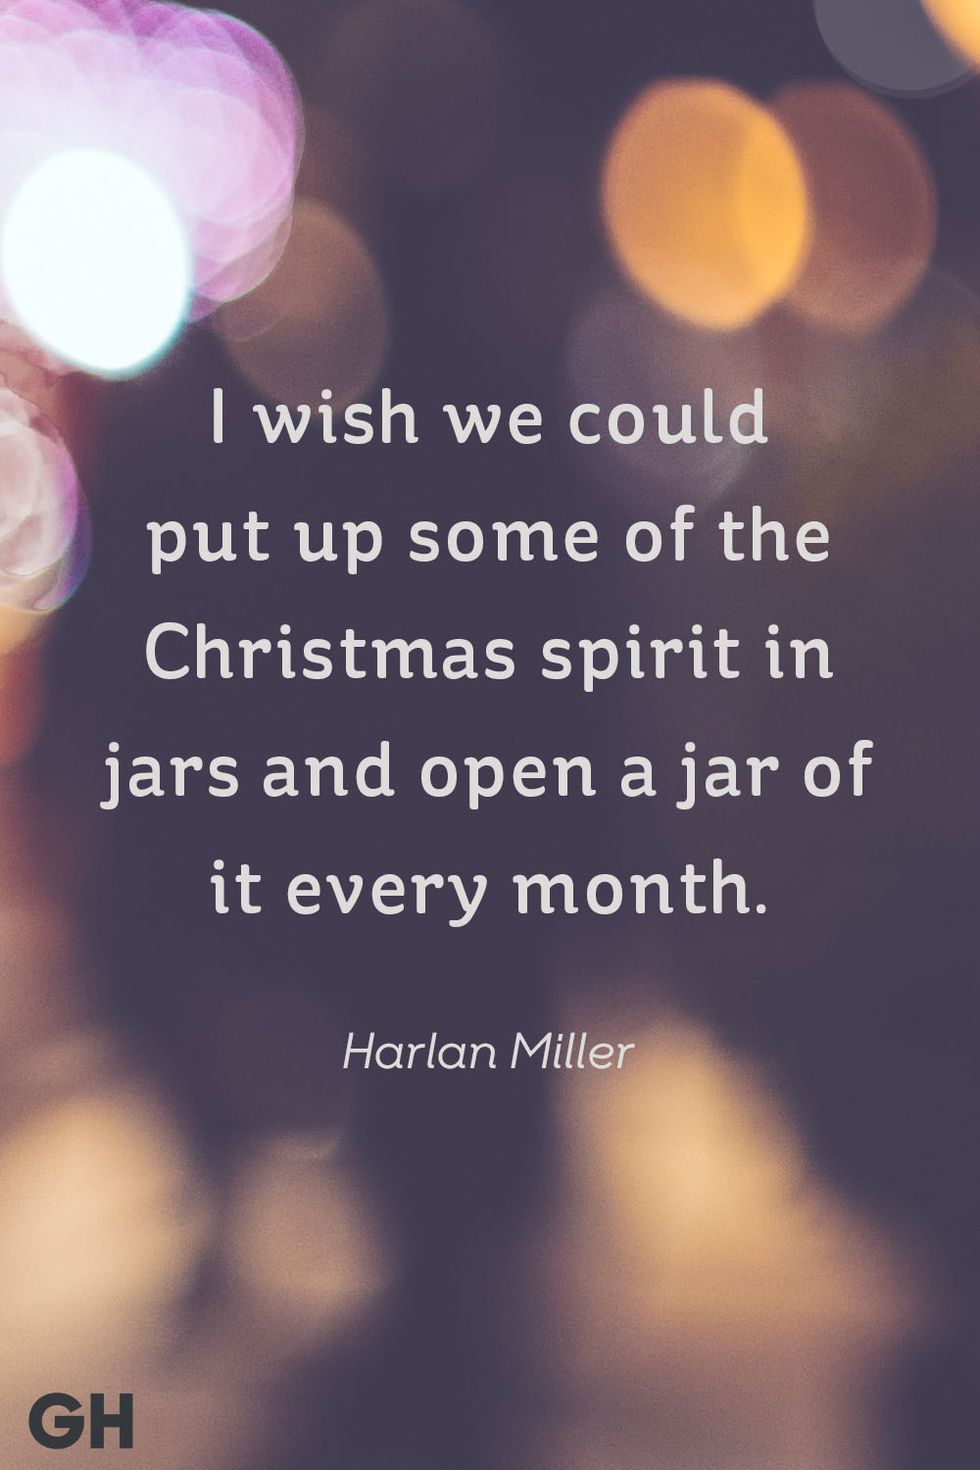
Today's Monday Motivation had to be a good Christmas quote to keep with the theme of the Christmas All Year block of the month that I have to share.  This one caught my eye:

This really sums up what I wanted to achieve with my block of the month, to enable us to enjoy a little of the feeling of Christmas every month of the year while we make our blocks.  I hope you are enjoying it as much as I am!

Block 6:  Summer Winds

This is an appropriate block for this time of year - living on the coast we get a great breeze every day!  Go ahead and download the pattern, and I'll show you the steps to making this block.  It's really not as complicated as it looks!

First of all get all your cutting done. Lots of triangles in this block, so it takes a little while to do all the cutting.
Sew all the red/green half square triangles and press them.
Love a long line of pieces on my ironing board!
Take a few minutes to measure and trim - it really does help your block come out extra nice.
Three triangles and one square combine to make the corner units.  Make sure you pay attention to the pressing diagram, it will make it so much easier to put it all together in the end!
Sew four flying geese units, and trim them up as well - it really does make a difference in how your block turns out.
Next you sew these to the background rectangles.  A good tip for this is to sew with the flying goose on the top so you can see where your stitching line needs to go.
I always aim to stitch just a hair off the point of the Flying Goose unit - press the seam toward the background rectangle.
Nice looking point on this one!  Make sure to measure these as well just to make sure they are the right size.
Now it all sews together as easy as pie - especially if you've pressed the seams correctly.  Take your time sewing the units together and match the seams nicely.  You'll end up with this pretty block:


Here are my blocks so far!  I really love how pretty they are all together!

Only three block to go and we'll be ready to finish this up.

If you would like to get the rest of the blocks in your e-mail, sign up for my newsletter and you will get them in your inbox as soon as they are released!  (Find the link on the tab at the top of the page)

Hope you enjoy making the Summer Winds block!


Friday, June 22, 2018

Getting back into the Groove

After a couple months of having our normal routines completely disrupted, my husband and I are both struggling with getting back into our groove.  We have managed to resume our daily walk and exercise, which is a good thing!  I made a couple of fun string blocks and am working on getting that scrap basket back down to a decent level.

I even found pieces of an unfinished quilt block!

Blockheads block number two is done - I'll do the third block a bit later today so I can stay caught up with that!


Prepping for pageant week!  The blue top is for a director, the pink dress is for a contestant.  Plus a few other odds and ends of alterations to finish up.  I'm still working on that beaded dress - there's a jacket as well that needs taken in.


The flowers are all finished and I'm working on the border of the the Grandmother's Flower Garden, right on schedule to be done by the end of the month!  Yay for that!


I also made something cute for Island Batik that I can't show you yet - it's a new Funky Friends pattern and she was super fun and cute to make!  Check out the Funky Friend Factory - they even have some free patterns you can try out :)  This is Petunia Pig.  I made her for the most recent Island Batik catalog and market - she was super cute as well!  And fun to make!

Both the linky parties I have been participating in on Fridays are taking a break, so no link-ups for me this week. 

Time to go do some quilting...got a t-shirt quilt that's begging to be finished soon - have a great weekend! 

Monday, June 18, 2018

Stitching along....

I found a great quote to share today on perseverance:


I am getting down to the end of my hand quilting project and am so excited that this should be a finished quilt by the end of the month!

The pink flower at the bottom is the last one to be finished!  Then I just need to do the rest of the straight line stitching in the borders.
It's been 2 1/2 months of stitching 2 hours a day on this.  I usually choose to do this in the evening while watching television with my husband, but I had to be consistent and persistent in making sure I did this every night in order to make the progress I have accomplished.  It's really nice to be able to see the end in sight.  I can't believe it's time to get the binding made so that will be ready to attach when I get done with the quilting.

My scrap bin is exploding right now so I need to apply some perseverance to that and start making string blocks again!  I think I'll try to spend an hour a day for the next couple of weeks to get that going.  I have phone book foundations ready to go, just need to start sewing!

Do you have a long term project that you are tempted to give up on?  Apply some perseverance and see it through!  Set aside a block of time every day, even if it's just 15 minutes, and you will be surprised at how quickly you see progress.

Linking up with Cynthia (Quilting is More Fun Than Housework) for Oh, Scrap!

Friday, June 15, 2018

It's not finished till you add the label -

There is a whole lot of not finished going on around here, but I finally added the label to this quilt!  I have more labels that need to be sewn on other quilts as well. don't know how I got so far behind, but my dining room is piled up with stacks of quilts that need labels, a couple of quilt sandwiches that need quilting and a few tops that are ready for basting.  It's hard to know where to start when there is so much that needs doing!

I did start taking the binding off one of my old favorites that I'd like to get back on my bed this summer.  I finished this quilt back in 1991, I don't know that my hand quilting will ever be as good as it was when I did this - younger eyes and hands!

This was my first hand quilted bed size quilt.  It was made from a serial pattern in Quilter's Digest and after a seach of my blog it looks as though I have never actually written a post about it!
I can hardly believe this quilt is 27 years old.  I use it regularly, and love how soft and cozy it is.  The backing is a plain muslin, and the binding, unfortunately is a single fold bias binding which is now starting to wear badly on the outside fold.  Luckily I have quite a bit of leftover binding that I have saved all these years so I can replace about half of it. Most of the wear seems to be confined to the top edge of the quilt, which makes sense - that's where it gets handled the most.

I've won a few ribbons on this quilt, including best of show at the local fair.  

There's not much holding it together here!

This is the only binding I've had fail so far - I now mostly use a double fold (or french) binding, cut on the width of the fabric.  Obviously a bias binding can wear out just as well as a straight of grain binding!  
You can see that the fabric has faded a bit.  Not bad because I do use this quilt every summer, and it is washed at least once each year with no special precautions!

I believe the rose color is actually a poly blend.  I purchased all the fabrics at JoAnn's, and the top has held up quite well.  

The quilting is so fine on this quilt.  I think it is the best quilting I have ever done.  I know that it took me about 14 months in all to piece and quilt this (because I wrote this on the back of the quilt - no label, but documented directly on the backing), and I am still in love with the results.  I'm excited to replace the binding and continue to use my favorite quilt - I expect to be using it least another 27 years - and if I have to replace the binding again I think I could use muslin and it would look just fine.

I promise I'll get some more pictures of it when it's finished and write a longer post about it!

Linking up with Myra for Finished or Not Friday!  
Finished or Not Friday at Busy Hands Quilts

And don't forget the final day of Where Flowers Bloom blog hop!

Today - Friday, June 15th


Have a wonderful weekend!

Wednesday, June 13, 2018

Where Flowers Bloom Blog Hop

Yay - I'm ready for my day on the Where Flower's Bloom Blog hop!  This is a great time for flowers, I've got so many pretties out in my yard right now - so inspiring!

My favorite peppermint rose - isn't this so pretty?  Maybe a pink and green quilt would be fun.

And these yellow ones smell like heaven!  I always love yellow in a quilt, I think maybe I need to add some of that, too.
The Lithadora is a favorite of the bees - there was one, but I guess he was a little camera shy because I don't see him anywhere.  Well, I suppose my quilt is going to need a little bit of blue as well!

With all this floral inspiration I was having a hard time deciding what fabric to use for my project, but I had a little brainstorm at the last minute and looked through my stash of charm packs and oh, yes - I hit the jackpot!  Chance of Flowers by Sandy Gervais for Moda was the perfect choice for my quick little table topper.  I started off with some big nine patch blocks.

A little cutting, a little shuffling and one more round of stitching got the top finished in no time at all.  Then I dug into my stash, and I didn't have to go too far to find a sweet little flowery backing, and the perfect shade of yellow for binding.

And how do you think I quilted this?

Loopy flowers, of course!  I used a variegated yellow thread from Aurifil - 50 wt is always perfect for an overall design to give you lots of texture without seeing the thread as much.  I used the same thread and similar quilting for my Twinkle Star baby quilt last year!
This backing is a cute print from Riley Blake.
Check out how cute my little bud vase looks with this!  Tomorrow I'm going to cut one of those yellow roses for my cute little lady to wear in her hat.

Here's the whole quilt - a petite 26 inches square.  It is available for purchase in my Etsy Shop - I know someone is going to love this on their table!

And I got lucky this afternoon when the sun came out - here's a garden shot to enjoy!
I hope you find as much inspiration and enjoyment as I have with all the lovely projects in the blog hop.  Don't forget to check out the rest of Thursday's quilts:


Thanks again to Miss Carla of Creatin' in the Sticks for putting together this fun hop!  I had a blast coming up with my project - hope you enjoyed it!